If you’re an enthusiast of adventure games and enjoy the thrill of capturing Pokémon-like monsters, Palworld is an exciting choice. This game offers players the chance to explore various islands, gather resources, and engage in capturing monsters.
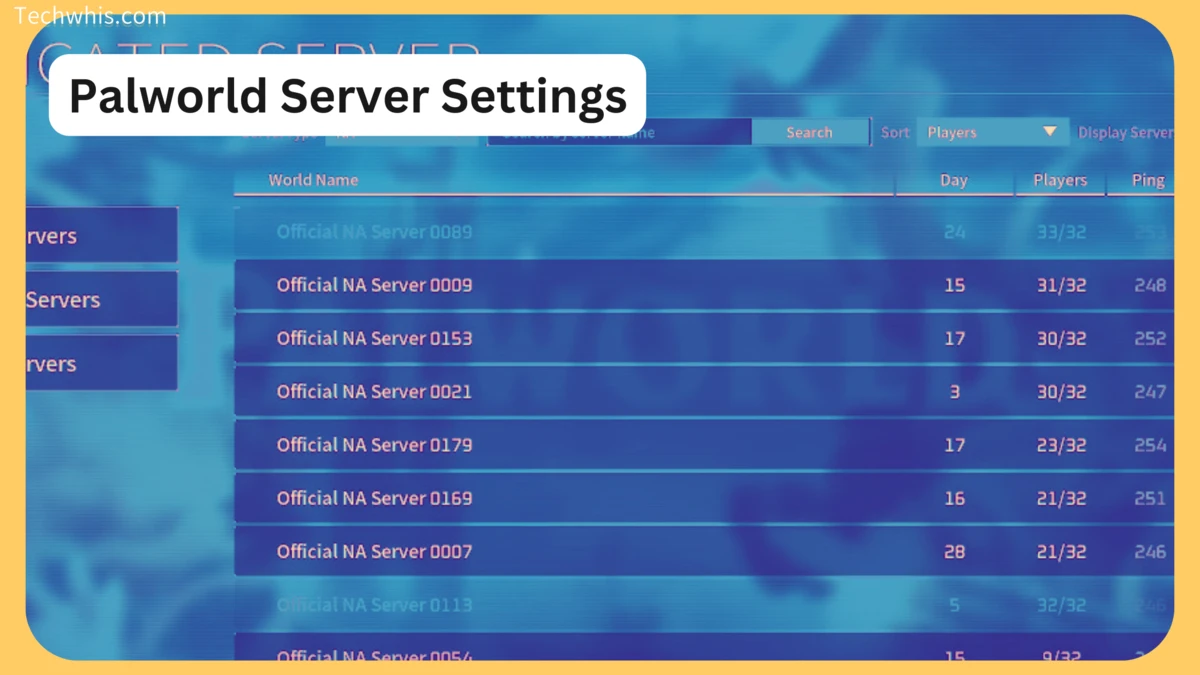
Palworld features a multiplayer option that allows up to 32 players to connect and play together on a dedicated server.
Table of Contents
Setting Up Your Palworld Dedicated Server
Setting up a Palworld dedicated server might seem challenging at first, but with the right guidance, it becomes a straightforward process.
Here’s a step-by-step guide to help you set up your dedicated server:
1. Initial Steps
- Ensure you have the Steam version of Palworld.
- The Xbox/Microsoft Store/Game Pass version does not support dedicated servers.
2. Palworld Dedicated Server Installation
- Install and launch Palworld once.
- Enable the Palworld Dedicated Server in the Steam Tools section.
- Open DefaultPalWorldSettings.ini in the installation folder and copy the content below line 3.
3. Configuring PalWorldSettings.ini
- Navigate to PalServer\Pal\Saved\Config\WindowsServer.
- Open PalWorldSettings.ini with Notepad and paste the copied text.
- Adjust settings like ServerName, ServerDescription, ServerPassword, and AdminPassword to your preference.
4. Launching Your Server
- Launch the Palworld Dedicated Server from your library.
- Choose “Play Palworld Dedicated Server” and click “Play”.
- Allow network access when prompted.
Joining Your Dedicated Server
To join your dedicated server, follow these steps:
- Launch the game and select “Join Multiplayer Game” from the main menu.
- Enter your server’s IP address (find it on WhatIsMyIP) and port number.
- Click “Join Server” to connect and start playing with friends.
Fixing Password Issues
Encounter the “no password has been entered” error? Follow these steps:
- Select Join Multiplayer Game from the main menu.
- Choose Community Servers.
- Enter your server’s password for a server with a lock icon.
- Click OK, then NO.
- Enter your IP and port number as usual and click Connect.
Saving and Closing Your Server
Properly save and close your server using admin commands:
- Press enter, type “/AdminPassword” followed by your admin password, and hit enter.
- Use commands like “/Save” to save and “/Shutdown” to close the server.
Frequently Asked Questions
What are the costs associated with running a Palworld dedicated server?
Running a Palworld dedicated server requires payment for the server hosting service. The cost of hosting a server depends on the hosting provider and the server’s specifications.
Some hosting providers offer different pricing plans based on the number of players and server resources. It is important to choose a reliable hosting provider that offers good value for money.
What is the maximum number of players supported on a Palworld server?
The maximum number of players supported on a Palworld server depends on the server specifications and the hosting provider. Typically, a server can support up to 100 players, but this can vary based on the hosting provider and the server resources.
It is important to choose a hosting provider that can support the number of players you expect to have on your server.
Where can I find the server settings file for Palworld?
The server settings file for Palworld can be found in the Saved/Config/LinuxServer/PalWorldSettings.ini directory. This file contains the default server settings and can be edited to customize the server settings to your preferences.
You will need to access this file to change server settings such as difficulty level, player stamina reduction rate, and more. It is important to make a backup of the original file before making any changes, in case you need to revert to the default settings.

